
If you’ve been following along for a while, you know we buy our beef by the whole cow. This is at least our 8th? cow (honestly, I don’t even know at this point. We raised 3 on our farm at one point), and it’s one of the best decisions we’ve ever made for our family. We save thousands of dollars doing it this way – and more importantly, we know exactly where our meat comes from, supporting small local family farms that we genuinely love.
When we buy our cow, we ask for everything – the bones, tallow (suet), fat, organs, oxtail, all of it. Nothing goes to waste. We’ve also gotten our cuts down to a science at this point. We know what we love, what size we like, what we use the most of, and how to make every pound count. (If you want a full breakdown of the exact cuts we choose and why, drop a comment below – I can share that in a separate post!)
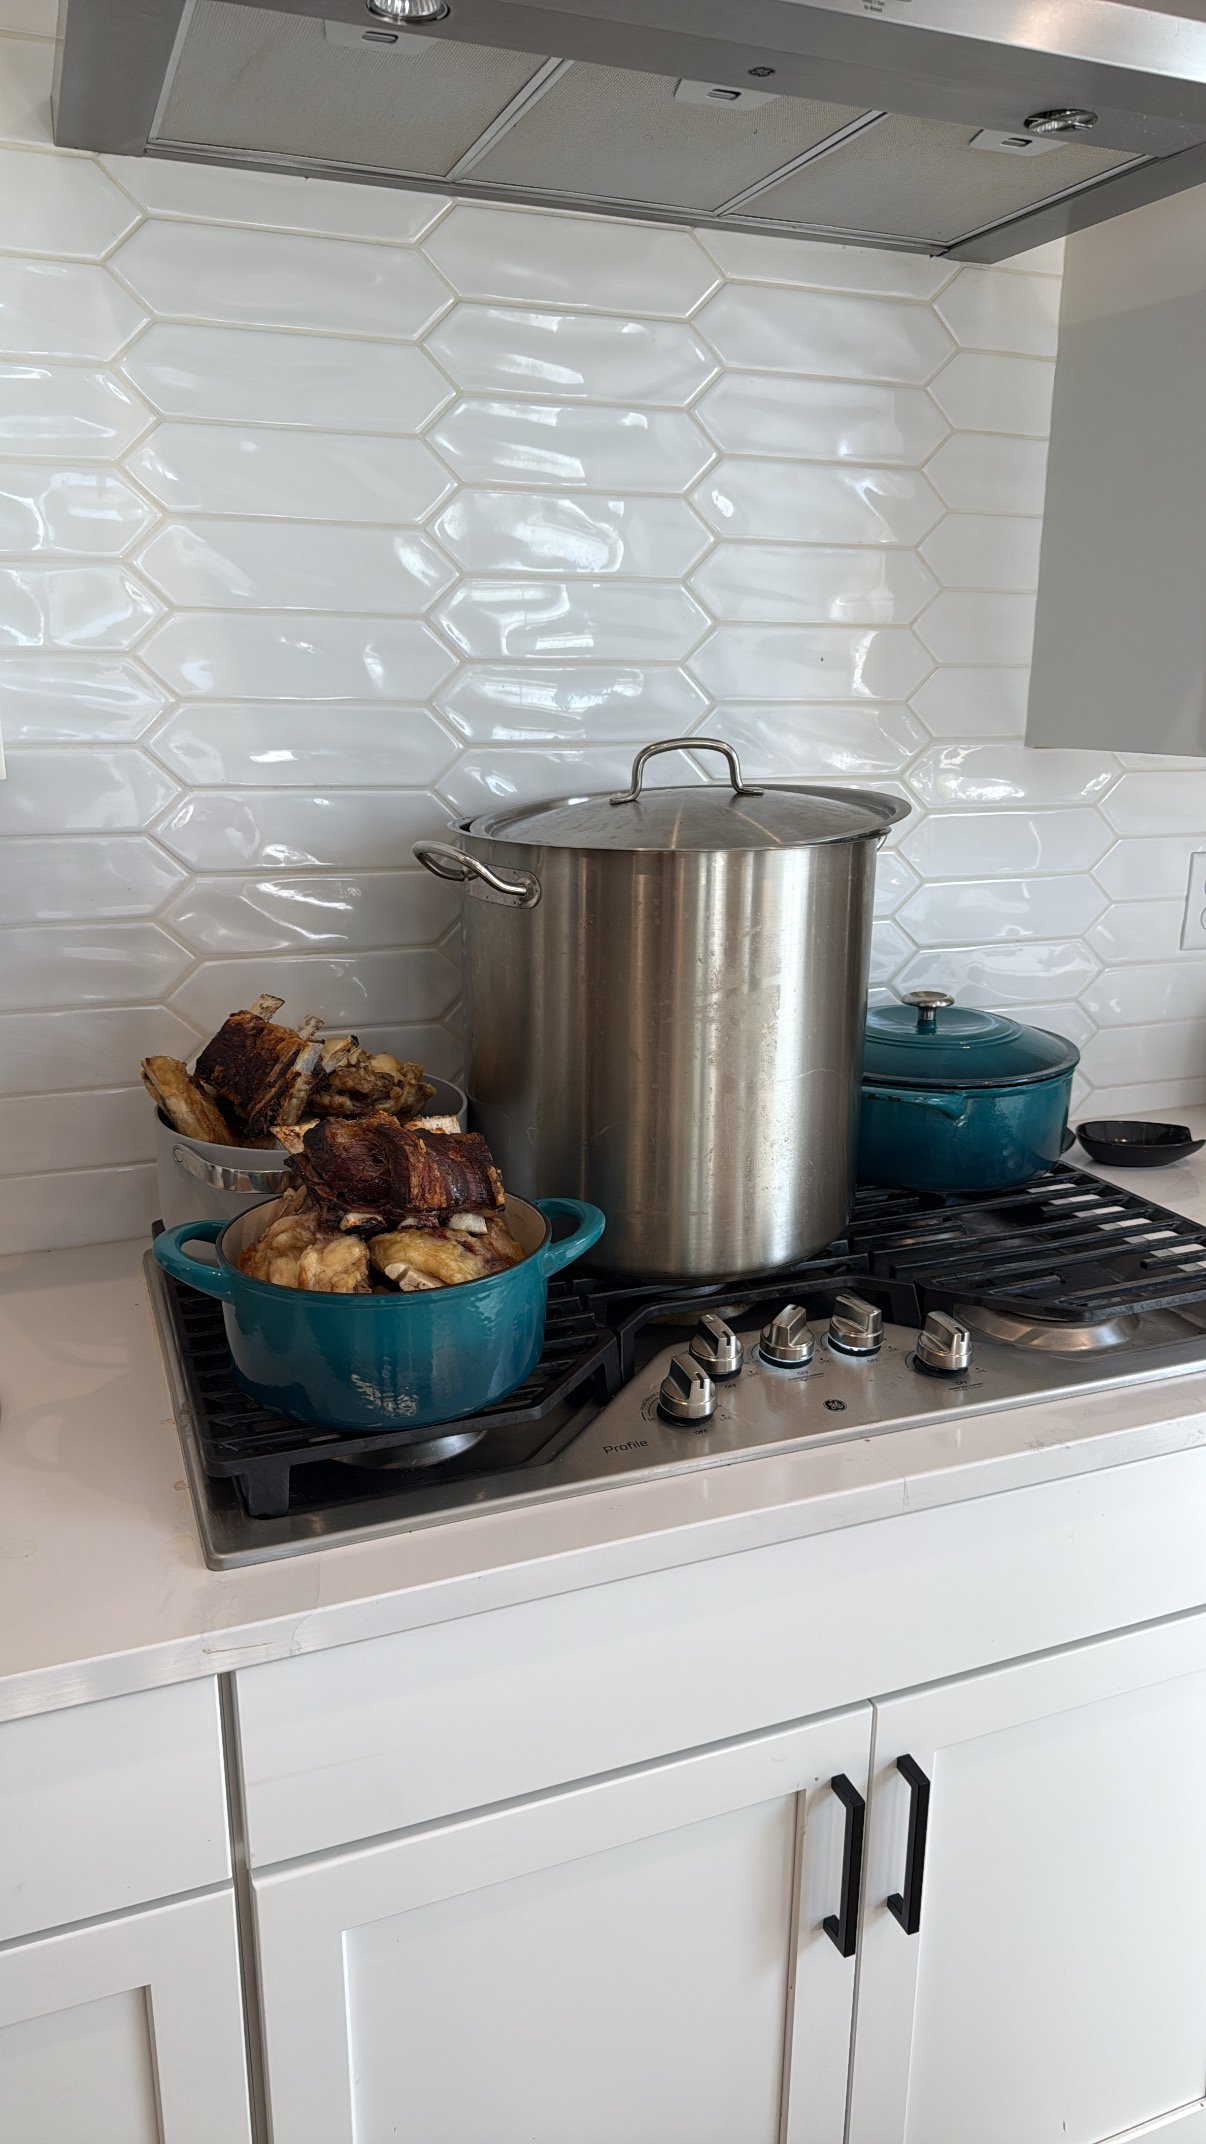
Today I processed at least 150 pounds of bones. Some were from this cow, and some were from past cows that I just hadn’t had time to get to yet. Doing it all at once like this is a lot –I’ll be honest, it’s way less time-consuming to do smaller batches. I ended up using every single pot I own, plus my pressure cooker. But we will get it done. At the time of writing this, my pots are still simmering.
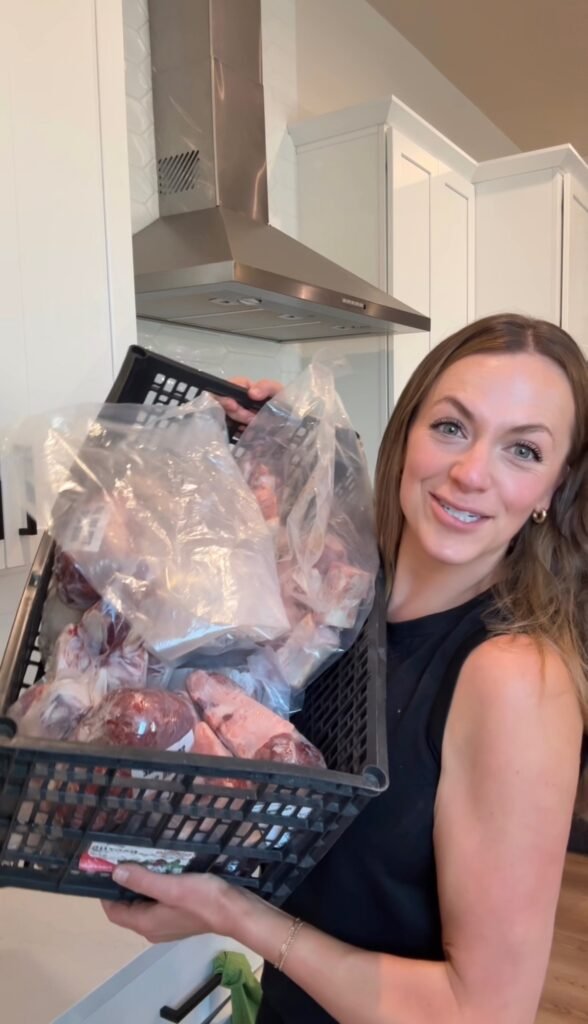
1 of 3 containers filled with bones
Affiliate Disclosure: This post may contain affiliate links. If you purchase through these links, I may earn a small commission at no extra cost to you. I only recommend products I personally use and trust. Thank you for supporting this blog! Read more here.
Why I Make Plain Bone Broth
I know a lot of people add onion, garlic, herbs, and vegetables right into their broth – and that’s totally valid! But because I’m processing such large amounts, I keep mine completely plain and neutral. That way, I can use it in literally anything:
- Soups and stews (just add your veggies and seasonings after)
- Sauces and gravies
- Rice or grain cooking liquid
- Macaroni and Cheese
- And yes, even bone broth hot chocolate – which is honestly so much better when your broth doesn’t taste like garlic or onions 😂
Plain broth = maximum versatility. That’s my philosophy.
HOW TO MAKE BONE BROTH
Step 1: Blanch the Bones
Start by placing your bones in a pot and covering them with cold water. Bring to a boil and let them go for about 15–20 minutes. You’ll see scum and foam rise to the top – skim that off, along with as much fat as you can.
When it’s done, I don’t rinse my bones under running water (I try to keep what goes down my drain minimal – when we lived out in the country, I’d just dump everything in the woods, but city life means a little more intentionality about that). Instead, I just dunk them out of the pot and place them on a baking pan.
Step 2: Roast the Bones
Place your blanched bones on a baking sheet and roast at 400°F until browned and caramelized. Smaller bones take around 30 minutes; larger bones can take upwards of 60 minutes. You’re looking for that deep golden color – that’s where the rich flavor and collagen come from.
Step 3: Simmer (Stovetop Method)
Transfer your roasted bones to a large stockpot and cover with filtered water. I use my AquaTru reverse osmosis filter for this – you can grab my link in my linktree. Add a splash of apple cider vinegar (this helps draw the minerals out of the bones).
Bring to a low simmer and let it go for 24–36 hours. My large pot with the massive bones I’ll run for the full 36 hours. The longer it simmers, the more collagen and nutrients you’re pulling out. Don’t go over 48 hours, though, you’re not going to pull any additional nutrients out, and the flavor could change.
Once it’s done, skim off the fat cap from the top. You can absolutely save that fat to cook with – there are a lot of nutrients in the marrow that end up in there, and it’s great for sautéing. Or just skim and discard, totally up to you.
Step 4: Strain It
Remove the big bones first using tongs – I find it’s so much less messy than trying to pour everything through a strainer at once. Then pour the broth through a fine mesh sieve / strainer to catch the rest. You can use a cheesecloth if you don’t want any tiny bits in it, they don’t bother me. Though, with the higher fat content of beef bone broth, it gets annoying to clean the cheesecloth because it gets gunked up, and the broth stops straining well.
I like these jars.
If you have the fridge space, you can put your strained broth in the fridge to let more of the fat cap solidify on top – it’s easier to remove that way. Or you can skip that step entirely if you’re going straight to canning or using it soon.
The bones at this point should be nearly falling apart. You can compost them, or toss them.
I like to use this funnel with a sieve on top. Keeps things WAY cleaner.
Pressure Cooker Method
For those doing smaller batches or wanting faster results, I also did a batch in my pressure cooker today.
Or if you just don’t want to babysit the stove for 36 hours, the pressure cooker is a great option – and honestly, it’s what I reach for when I want broth faster without sacrificing quality.
The process is the same up front: blanch your bones, roast them at 400°F until they’re golden and caramelized, then transfer them to your pressure cooker. Cover with filtered water up to the max fill line (don’t overfill – this matters with a pressure cooker), and add a splash of apple cider vinegar just like you would for the stovetop method.
Set it to high pressure for 3 hours and let it do a natural pressure release – meaning you don’t touch it when it’s done, you just let the pressure come down on its own. Don’t rush this part. (anywhere from 2-4 hours works for pressure cooking bone broth).
Once the pressure has fully released, open it up and you’ve got rich, deeply colored broth in a fraction of the time. From there, the process is the same – skim the fat, remove the bones with tongs, and strain through a fine mesh sieve.
A few things to keep in mind:
- If you have a mix of large and small bones, I’d save the pressure cooker for the smaller ones and let the massive bones go low and slow on the stove.
- The broth from the pressure cooker will be slightly different in color and clarity than a long-simmered stovetop batch, but the nutrition is still there.
- Because of the fill line limit, your yield will be smaller per batch – but it’s a great option when you’re working through a more manageable amount of bones.

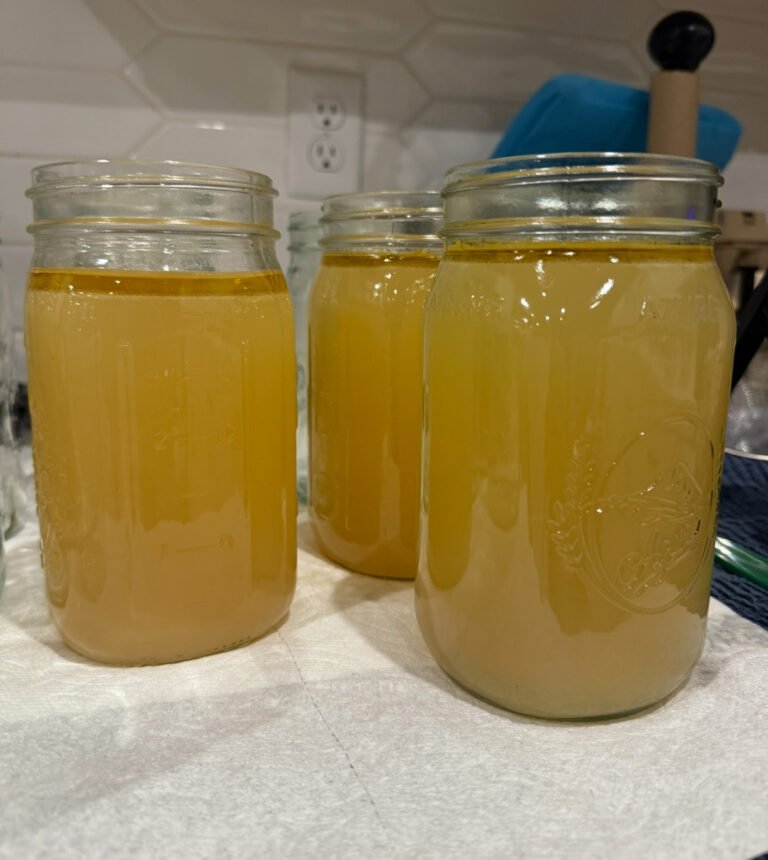
Beef Bone Broth made in the Pressure Cooker
How to Store Your Bone Broth
Once your broth is strained and cooled, here’s how to store it depending on how quickly you’ll use it:
Fridge
If you’re planning to use it within the week, just pop it in the fridge. It’ll keep for up to 7 days. This is also when I do my final fat skim – once it’s cold, the fat cap solidifies on top and is so much easier to lift right off.
Freezer
For longer storage, the freezer is your best friend. A few tips so you don’t end up with cracked jars or a giant frozen brick you can’t portion:
- Silicone trays – Pour your broth into silicone molds or large silicone ice cube trays, freeze until solid, then pop them out and transfer to a freezer bag. This is a great method because you can grab exactly how much you need.
- Freeze in measured amounts – Freeze in 1 cup or 2 cup portions so you always know what you’re grabbing without having to thaw a huge batch.
- Mason jars – You can freeze in mason jars, but leave at least 1 inch of headspace (broth expands as it freezes), use straight-sided jars when possible, and let the broth cool completely before putting lids on and transferring to the freezer. Don’t put hot or even warm jars straight into the freezer – that’s usually what causes cracking.
- Freezer bags – Lay them flat to freeze, then stack them like files once solid. Space-saving and easy to label. (I don’t like to do this because we avoid plastic as much as possible, but you do you!)
However you freeze it, label everything with the date. Bone broth keeps well in the freezer – experts say frozen stuff has an expiration date, but I don’t pay attention to that.
Pressure Canning
If you really want to go next level, pressure canning makes your broth completely shelf stable – no freezer space needed, just a pantry full of jars ready to grab anytime. I’ll be sharing my full canning process in a separate post soon. (Link coming!)
What’s Next: Pressure Canning
Once your broth is made, you have two options for longer-term storage – the freezer methods above, or pressure canning to make it completely shelf stable. No freezer space needed, just a cool, dark pantry and a row of beautiful jars waiting for you.
I’ll be sharing my full pressure canning process in a separate post – how I prep the jars, process times, pressure settings for different altitudes, and everything you need to know to do it safely and confidently. It is such a game-changer, especially when you’re making broth at this scale.
(Link will be added here when it’s live!)
Plus I’ve had jars crack in the freezer and that just about breaks my heart.
Pin this post, save it, bookmark it – making bone broth from scratch is one of those skills that just keeps paying off. 🫙
And if you do it, LET ME KNOW HOW IT TURNS OUT! I LOVEEEE hearing from you!
Homemade Beef Bone Broth (Stovetop + Pressure Cooker Methods)
Ingredients
Method
- Place bones in a large pot. Cover with cold water.
- Bring to a boil and cook for 15–20 minutes.
- Skim off all foam and scum from the surface and as much fat as possible – discard.
- Remove bones from the pot (I do not rinse under running water but if you want to, you can).
- Place bones on a baking sheet.
- Roast at 400°F for 30–60 minutes until deeply browned and caramelized. (Smaller bones: ~30 min. Larger bones: up to 60 min.)
- Transfer roasted bones to a large stockpot. Cover with filtered water.
- Add 1–2 tbsp apple cider vinegar.
- Bring to a low simmer. Do not boil.
- Simmer for 24–36 hours. (Larger, denser bones benefit from the full 36 hours.) No longer than 48 hours.
- Skim fat from the top as desired.
- Transfer roasted bones to pressure cooker. Cover with filtered water to the max fill line – do not overfill.
- Add 1 tbsp apple cider vinegar.
- Cook on HIGH pressure for 2-4 hours.
- Allow a full natural pressure release – do not manually release. Let the pressure come down completely on its own.
- Scoop off fat before disturbing the liquid
- Use tongs to remove large bones.
- Strain remaining broth through a fine mesh sieve.
- Optional: Refrigerate to allow fat cap to solidify for easier removal.
- Discard or compost bones.
- Fridge: Store in a sealed container for up to 7 days. Fat cap will solidify when cold and is easy to lift off before using. I store in glass mason jars.
- Freezer – Silicone trays: Pour into silicone molds or large ice cube trays, freeze solid, pop out and transfer to a labeled freezer bag. Great for grabbing small amounts as needed.
- Freezer – Mason jars: Leave at least 1 inch of headspace, use straight-sided jars, and cool completely before freezing. Do not put warm jars directly into the freezer.
- Freezer – Freezer bags: Fill, lay flat to freeze, then stack upright once solid. Label with date. I don't do this because I try to limit plastic exposure.

One Comment