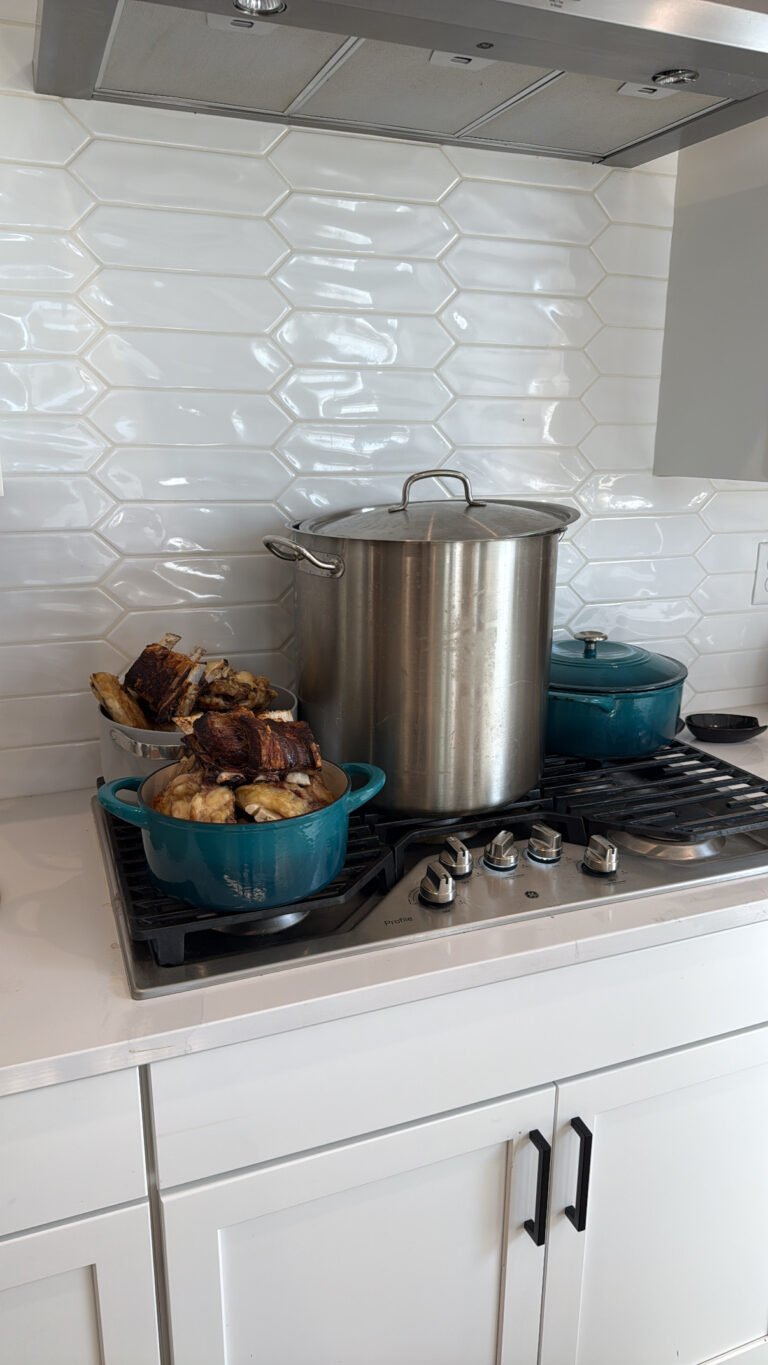
If you caught my last post, you know I just processed at least 150 pounds of bones from our 8th whole cow. We made bone broth for days – and now it’s time to talk about what I do with all of it. Because the freezer can only hold so much, and this is where pressure canning completely changed the game for me.
A pantry full of shelf-stable bone broth jars, ready to grab anytime, no freezer space needed. That’s the goal.
First – A Disclaimer
I am not a canning expert. I want to be upfront about that. I have learned from some genuinely wise people in the homesteading and canning space on Instagram that I trust deeply, and I canned everything we raised and grew when we lived on our homestead. We are still alive to tell the tale – so take everything I share here with a grain of salt, do your own research, and make the decision that feels right for your family. 😄
What I can offer you is my ER nursing background, which means I take food safety seriously. Bone broth is a low-acid food, which means it must be pressure canned – not water bath canned. This is non-negotiable. Water bath canning does not reach the temperatures needed to eliminate the risk of botulism in low-acid foods. A pressure canner gets your jars up to 240°F, which is what makes it safe. Please don’t skip this step or substitute methods.
Affiliate Disclosure: This post may contain affiliate links. If you purchase through these links, I may earn a small commission at no extra cost to you. I only recommend products I personally use and trust. Thank you for supporting this blog! Read more here.
What You Need
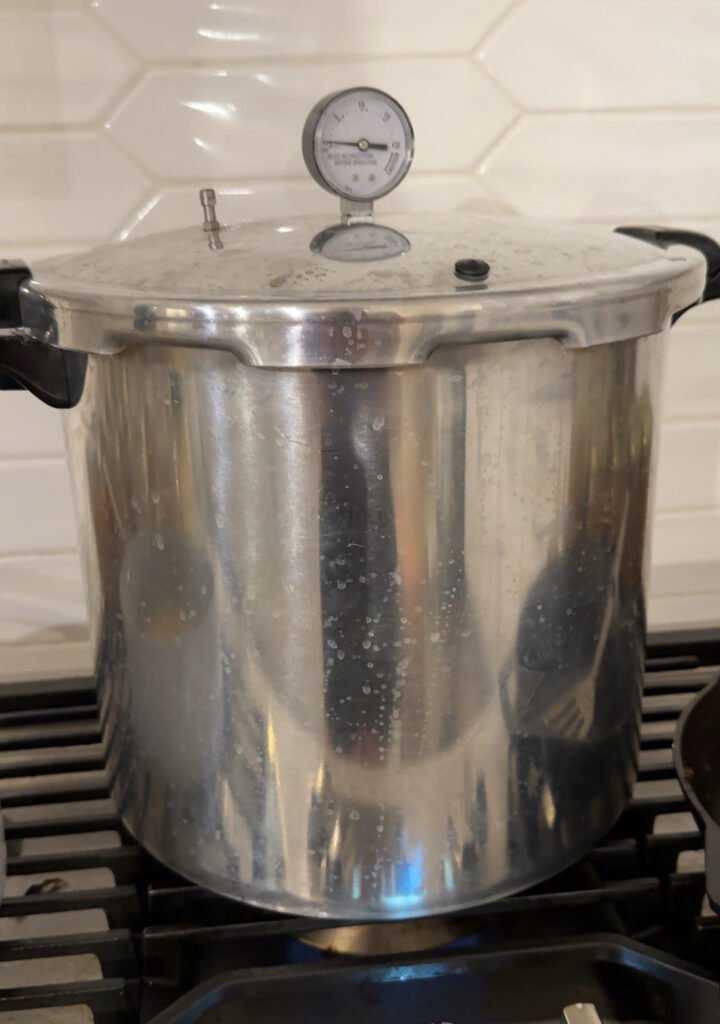
- Pressure canner (I use a Presto – it holds 3 quarts of water)
- Quart or pint mason jars
- Canning Funnel
- New lids (always use new lids – never reuse them)
- Bands (these can be reused as long as they’re not rusty or damaged)
- Jar lifter
- Fine mesh sieve (if you haven’t already strained your broth)
- White vinegar (for wiping jar rims)
- Labels or Permanent Marker
The USDA Recommended Method
If you’re processing a smaller, more manageable amount of broth, the standard USDA/Presto recommended process is straightforward and a great place to start. Here’s what that looks like:
Heat your broth to boiling. Fill hot jars with hot broth, leaving 1-inch headspace. Wipe jar rims clean, position lids, and adjust bands to fingertip tight.
For processing, a dial gauge canner runs at 11 pounds pressure – pints for 20 minutes, quarts for 25 minutes. A weighted gauge canner runs at 10-15 pounds pressure for the same times. For altitudes above 2,000 feet with a dial gauge, or above 1,000 feet with a weighted gauge, you’ll need to adjust your pressure. Always read your manual.
For the full altitude adjustment chart, I’d send you directly to Presto’s website and Ball’s altitude guide – both are excellent, accurate resources, and you should always defer to those for your specific elevation.
Once your processing time is done, turn off the heat and allow the pressure to release naturally. Once the canner is down to zero pounds of pressure, allow jars to sit for 10 more minutes inside the canner before removing the lid.
How I Do It (High Volume Method)
When you’re processing a massive amount of broth like I am, heating everything up at once just isn’t realistic. Here’s the method I use that works really well for large batches – it’s a slower, gentler process from start to finish, and I believe that slow and steady is key to not losing jars to cracking, buckling lids, or siphoning.
1. Fill your jars cold. I ladle my broth into clean jars cold – straight from the fridge or after it’s cooled completely. Leave 1 inch of headspace. Wipe the rim with a little white vinegar to cut through any grease (this is really important with bone broth – a greasy rim can prevent a proper seal). Place on a new lid and tighten the band to fingertip tight.
2. Let them come to room temperature. I set my filled jars on the counter and let them sit until they’re closer to room temperature. You don’t want a cold jar going into a hot canner – that’s a recipe for cracked glass.
3. Add cold water to your canner. I add cold water to my Presto canner (it calls for 3 quarts of water). Place your rack in the bottom first, then load your jars in with a jar lifter.
4. Bring everything up slowly. Put the lid on, leave the vent open, and turn your heat up low and slow. You want everything warming together – the jars, the water, all of it. Bring it up to a full boil gradually rather than cranking the heat.
5. Vent steam for 10 minutes. Once you have a steady stream of steam coming from the vent, let it vent for a full 10 minutes. Don’t rush this – you’re purging air from the canner and it matters.
6. Add your weight and build pressure. Place your weight on the vent and let the pressure build. Once you’ve reached your target pressure (I process at 12 lbs for my altitude here in Idaho – check your own altitude and adjust accordingly using the Presto or Ball charts linked above), start your timer.
- Pints: 20 minutes
- Quarts: 25 minutes
7. Natural release – all the way. When your time is up, turn off the heat and walk away. Do not touch it. Do not try to speed up the release. If you can leave it for a few hours or even overnight before opening the lid, that’s even better. A slow cool is everything – cooling too fast is one of the main reasons lids buckle, jars crack, and broth siphons out. Let it do its thing.
8. Remove and rest. Once the pressure is fully at zero, remove the lid tilting it away from you (steam can still escape), and carefully lift jars out with a jar lifter. Set them on a towel on the counter in a draft-free spot. Don’t put them on a cold surface. Leave them completely undisturbed for 12-24 hours.
After They’ve Cooled
Once your jars are fully cooled, here’s what to do:
- Check the seals. Press the center of each lid – it should be firm and not flex up and down. If it pops, that jar didn’t seal. Put it in the fridge and use it within a week.
- Remove the bands. This is important and a step a lot of people skip. Remove the bands before storing so you can easily detect a failed seal later. A band can hold a failed lid in place and mask it.
- Wipe the jars down if there’s any residue on the outside.
- Label everything with the contents and date. Bone broth looks different batch to batch and you’ll thank yourself later.
- Store in a cool, dark place. A pantry or basement shelf is perfect. Properly pressure canned bone broth is shelf stable and can last indefinitely when stored in a cool, dark place and the lid remains sealed – though I’d aim to use it within a year for best quality.
Why It Has to Be Pressure Canned
I want to say this one more time because it’s important. Bone broth is a low-acid food. Low-acid foods create the perfect environment for Clostridium botulinum – the bacteria that causes botulism – to thrive if not processed at high enough temperatures. A boiling water bath only gets to 212°F. A pressure canner gets to 240°F, which is what actually destroys those spores. There is no shortcut here. If you’re canning bone broth, it has to be in a pressure canner. Every time.
This is the one place I’m going to put my nurse hat on and be direct with you.
The Payoff
There is nothing better than opening your pantry and seeing a row of golden jars of bone broth you made yourself, from bones you sourced from a farm you trust. It’s one of those things that feels deeply satisfying every single time. And when you need broth for a soup, a sauce, or just to sip – it’s just there. No thawing, no running to the store, no $10 carton.
This is what real food preservation looks like. Worth every minute.
(Missed the bone broth post? Read it here)