Ingredients
Method
Blanch the Bones
- Place bones in a large pot. Cover with cold water.
- Bring to a boil and cook for 15–20 minutes.
- Skim off all foam and scum from the surface and as much fat as possible - discard.
- Remove bones from the pot (I do not rinse under running water but if you want to, you can).
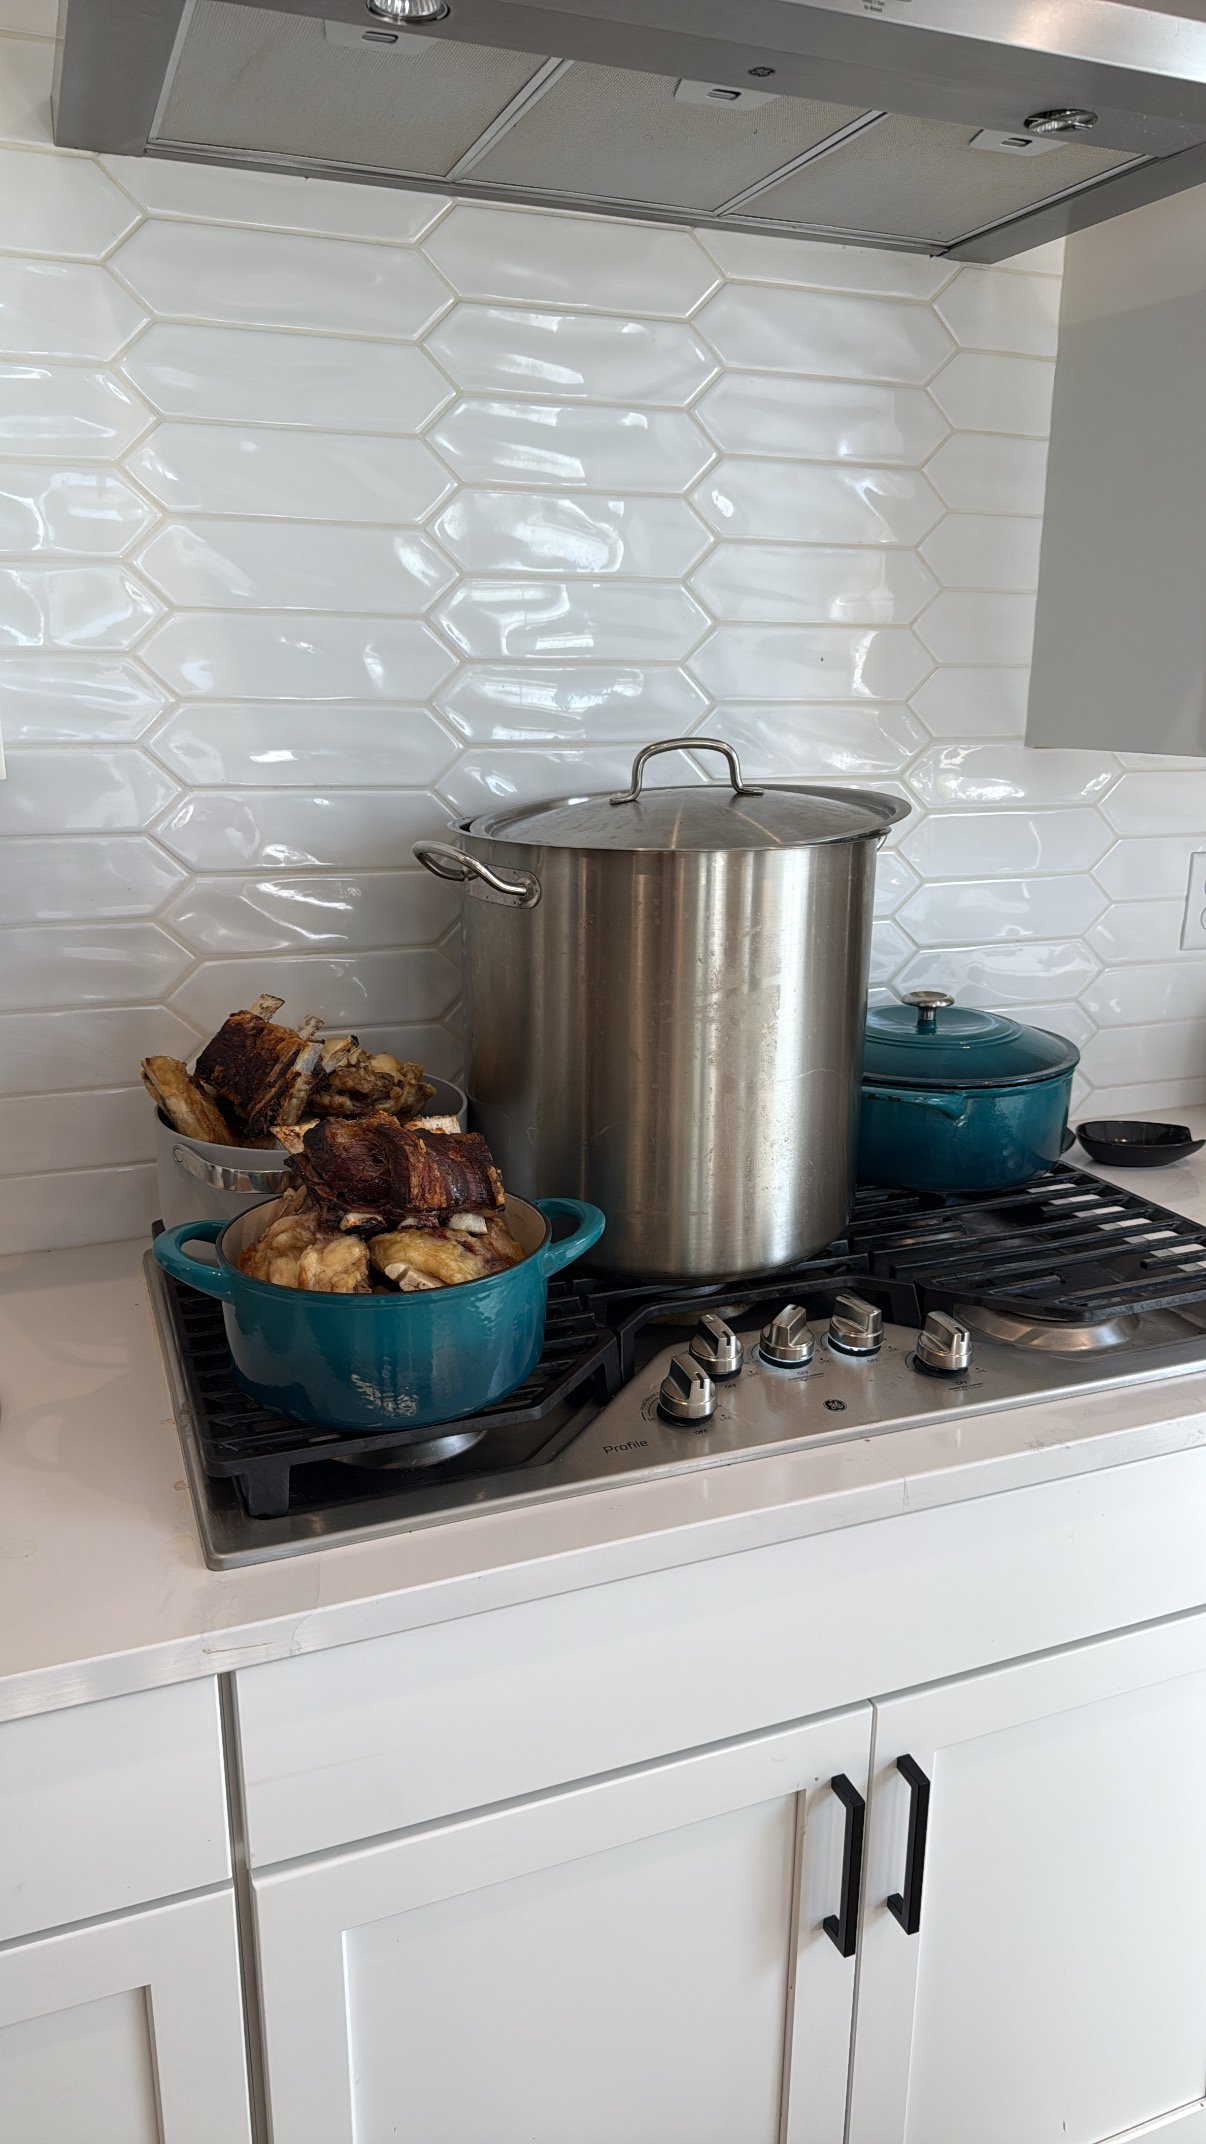
Roast the Bones
- Place bones on a baking sheet.
- Roast at 400°F for 30–60 minutes until deeply browned and caramelized. (Smaller bones: ~30 min. Larger bones: up to 60 min.)
Stovetop Method
- Transfer roasted bones to a large stockpot. Cover with filtered water.
- Add 1–2 tbsp apple cider vinegar.
- Bring to a low simmer. Do not boil.
- Simmer for 24–36 hours. (Larger, denser bones benefit from the full 36 hours.) No longer than 48 hours.
- Skim fat from the top as desired.
Pressure Cooker Method (Faster Option)
- Transfer roasted bones to pressure cooker. Cover with filtered water to the max fill line – do not overfill.
- Add 1 tbsp apple cider vinegar.
- Cook on HIGH pressure for 2-4 hours.
- Allow a full natural pressure release – do not manually release. Let the pressure come down completely on its own.
Strain
- Scoop off fat before disturbing the liquid
- Use tongs to remove large bones.
- Strain remaining broth through a fine mesh sieve.
- Optional: Refrigerate to allow fat cap to solidify for easier removal.
- Discard or compost bones.
Storage:
- Fridge: Store in a sealed container for up to 7 days. Fat cap will solidify when cold and is easy to lift off before using. I store in glass mason jars.
- Freezer – Silicone trays: Pour into silicone molds or large ice cube trays, freeze solid, pop out and transfer to a labeled freezer bag. Great for grabbing small amounts as needed.
- Freezer – Mason jars: Leave at least 1 inch of headspace, use straight-sided jars, and cool completely before freezing. Do not put warm jars directly into the freezer.
- Freezer – Freezer bags: Fill, lay flat to freeze, then stack upright once solid. Label with date. I don't do this because I try to limit plastic exposure.
Pressure Canning: For shelf-stable storage, see my pressure canning post (link coming soon).
Notes
I make my bone broth completely plain for maximum versatility – add vegetables, garlic, onion, or herbs when you use it in a specific recipe.
The fat cap contains marrow nutrients and can be saved for cooking.
Bones should be nearly falling apart when done.
I use an AquaTru reverse osmosis filter for my water.
Smaller batches are significantly less time-consuming – if you can, don't wait until you have 150lbs of bones like me. 😄