
How to Make Elderberry Gummies at Home (+ Why the Ingredients Matter)
Three wholesome ingredients, no refined sugar, and a batch that lasts up to two weeks in the fridge. Here’s everything you need to know.
Elderberry gummies are one of the easiest ways to make immune-supporting nutrition a consistent daily habit — especially for kids who might resist taking syrup straight. But beyond convenience, making them at home means you control every single ingredient. No corn syrup, no artificial colors, no mystery stabilizers. WINNNNNNNN!
This recipe uses just three real-food ingredients, and below I’ll break down exactly why each one was chosen and what it does for your body.
Disclaimer: This content is for educational purposes only and reflects traditional folk practices. It is not intended to diagnose, treat, cure, or prevent disease. Consult your healthcare provider before trying new remedies with your children, especially if they have allergies, asthma, or other health conditions. This is not a substitute for medical care—if your child has difficulty breathing, high fever, or worsening symptoms, seek medical attention.
Affiliate Disclosure: This post may contain affiliate links. If you purchase through these links, I may earn a small commission at no extra cost to you. I only recommend products I personally use and trust. Thank you for supporting this blog!
Understanding the Ingredients
Elderberry Syrup
Elderberries (Sambucus nigra) have been used in traditional herbal medicine for centuries and are one of the most well-researched botanicals for immune support. They’re rich in flavonoids — particularly anthocyanins, the compounds responsible for their deep purple color — which have demonstrated antioxidant and antiviral properties in research settings.
Using homemade elderberry syrup as the base means you’re starting with a potent, quality-controlled foundation rather than a diluted store-bought version.
Grass-Fed Beef Gelatin
Gelatin is what gives these gummies their satisfying chew — but it’s doing much more than that structurally. Gelatin is derived from collagen, and when sourced from grass-fed cattle, it provides a meaningful amount of glycine, proline, and hydroxyproline: amino acids that support gut lining integrity, joint health, and skin elasticity.
This is a meaningful nutritional upgrade over agar-based or pectin-based gummies, which set similarly but don’t carry the same amino acid profile.
Natural Sweetener
Raw honey is the most complementary choice here — it adds its own antimicrobial and antioxidant compounds alongside the sweetness. Maple syrup is a great refined-sugar-free alternative with trace minerals like manganese and zinc. Either works well.
One important note on sweetness: The perception of sweetness mutes noticeably once a mixture is chilled and set into gummy form. Always taste the warm liquid and add more sweetener than seems right in the pot — the final gummy will taste considerably less sweet.
Benefits of Elderberry Syrup for Cold & Flu
Why Elderberry Has Been Used for Immune Support for Centuries
Elderberry (Sambucus nigra) is one of the most extensively studied medicinal plants in the context of cold and flu, and its use dates back thousands of years across European and Native American traditional medicine. Here’s what the research and traditional use tell us about why it works.
Rich in Immune-Activating Antioxidants Elderberries contain exceptionally high levels of anthocyanins — the flavonoid pigments responsible for their deep purple-black color. These compounds have demonstrated significant antioxidant activity, helping to neutralize free radicals that accumulate during illness and inflammation. Elderberry ranks among the highest of any fruit for antioxidant content.
May Shorten the Duration of Cold & Flu Several clinical studies have examined elderberry’s effect on influenza and upper respiratory infections. Studies have shown elderberry extract to significantly shorten the duration of colds and flu and reduce symptom severity. Another study found elderberry extract reduced the duration of influenza by an average of four days.
Antiviral Properties Research has indicated that certain compounds in elderberry may interfere with a virus’s ability to attach to and enter host cells — essentially disrupting the early stages of infection. Two of the key anthocyanins in elderberry have been identified as having direct antiviral activity against influenza strains in laboratory studies.
Supports the Immune Response Elderberry has been shown to stimulate the production of cytokines — signaling proteins that help coordinate the immune system’s response to infection. This immune-modulating activity is part of why elderberry is considered particularly useful at the onset of illness, when the body is mounting its initial defense.
Anti-Inflammatory Action Chronic low-grade inflammation can suppress immune function and slow recovery from illness. The flavonoids and phenolic acids in elderberry have demonstrated anti-inflammatory properties, which may help the body recover more efficiently and reduce the severity of symptoms like sore throat and body aches.
A Note on Quality and Preparation Raw + unripe elderberries contain a compound called sambunigrin, which can cause nausea and digestive distress. Cooking elderberries — as is done when making syrup — deactivates this compound, making cooked or properly prepared elderberry products safe and effective. This is one of the key reasons homemade syrup made from dried or properly cooked berries is preferred over raw preparations.
What You’ll Need
Ingredients
- 1 cup homemade elderberry syrup
- 2 tablespoons grass-fed beef gelatin powder
- Sweetener to taste — raw honey or pure maple syrup recommended
Equipment
- Small saucepan
- Whisk
- Silicone gummy molds — silicone is essential; the flexibility allows you to pop gummies out cleanly without greasing
- Dropper, squeeze bottle, or small measuring cup for filling
Step-by-Step Instructions
- Bloom the gelatin. Pour your 1 cup of elderberry syrup into the saucepan. Sprinkle the gelatin powder evenly across the surface and let it sit undisturbed for 2–3 minutes. This process — called blooming — allows the gelatin granules to fully hydrate before heat is applied. Skipping or rushing this step can result in clumps or an uneven texture in the finished gummies.
- Gently warm on the stove. Place the saucepan over low to medium-low heat. Whisk slowly and steadily until the gelatin is completely dissolved and no granules remain — about 2–3 minutes. Keep the heat gentle: boiling can degrade the gelatin’s setting ability and may diminish some of the heat-sensitive compounds in your elderberry syrup.
- Add sweetener and taste. Remove from heat and stir in your sweetener of choice. Taste and adjust. Remember that chilling significantly mutes perceived sweetness, so err on the side of more rather than less.
- Fill the molds promptly. As the mixture cools it will begin to thicken, so work with some intention. Use a dropper or small pouring vessel to fill each cavity of your silicone molds. If the mixture starts to set before you finish, briefly return it to low heat and whisk to re-melt.
- Refrigerate until fully set. Transfer the filled molds to the refrigerator. Allow at least 2 hours — longer is fine. Gummies should be firm and hold their shape cleanly when pressed.
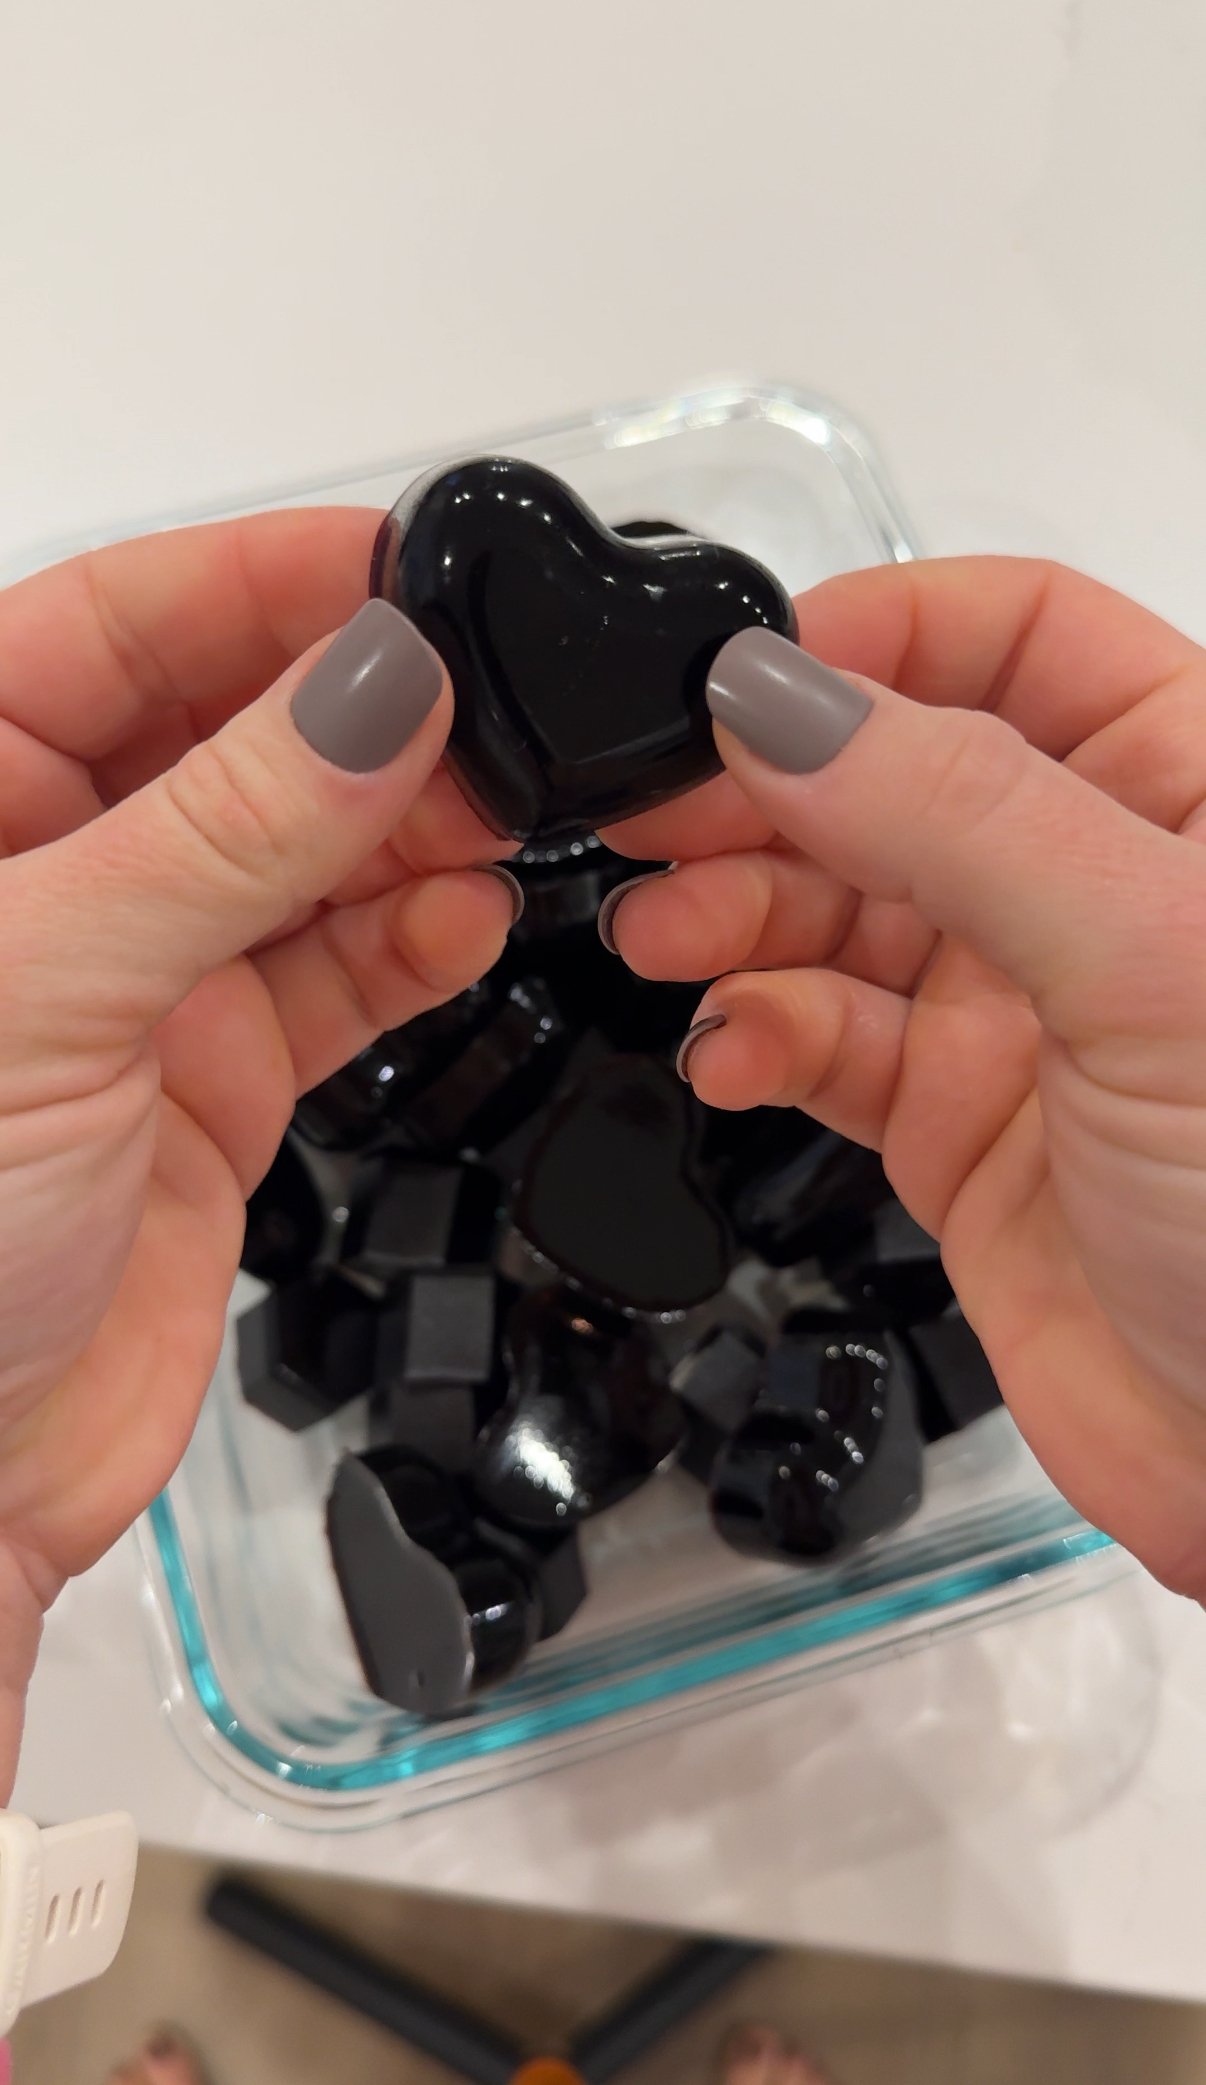
- Unmold and store. Gently flex the silicone mold to release each gummy. Transfer to an airtight glass container and refrigerate. Consume within 1–2 weeks.
Storage & Serving Notes
Because these gummies are made without preservatives, refrigeration is required. Do not leave them at room temperature for extended periods, particularly in warm weather.
A general guideline for daily use, dependent on the size of the molds: 2–4 gummies for adults, 1–2 for children. Consult with a qualified healthcare provider before use during pregnancy or for children under one year of age — and note that honey is contraindicated for infants under 12 months.
Frequently Asked Questions
Can I use store-bought elderberry syrup? Yes, though potency and ingredient quality will vary by brand. For best results, my homemade elderberry syrup recipe gives you full control.
Can I use agar or pectin instead of gelatin? You can, but they won’t provide the same amino acid benefits, and the texture will differ — agar sets firmer and more brittle; pectin softer and more jammy.
Why grass-fed specifically? Grass-fed gelatin generally has a cleaner sourcing profile. Conventionally raised gelatin will still work functionally in this recipe.
My gummies didn’t set — what happened? The most common culprits are insufficient gelatin, boiling the mixture rather than gently warming it, or not allowing enough chill time. Make sure your gelatin is fully bloomed and dissolved before pouring.
Elderberry Gummies
Ingredients
Method
- Sprinkle gelatin over syrup in saucepan. Do not stir. Bloom 2–3 minutes.
- Warm over low heat, whisking until gelatin fully dissolves. Do not boil.
- Remove from heat. Add sweetener to taste — add more than you think, gummies set less sweet.
- Fill silicone molds promptly using a dropper or small cup.
- Refrigerate 2+ hours until completely firm.
- Unmold and store in airtight container in the fridge up to 2 weeks.
Notes
Not shelf-stable.
Not recommended for infants under 12 months if using honey.