Ingredients
Equipment
Method
Step 1:
- Prep the Garlic
- Peel the garlic cloves.
- You can easily peel garlic by placing the cloves under a flat knife and gently pressing down to slightly crush them. This makes the peels pop off quickly!
- You can chop the garlic or leave it whole.
Step 2:
- Add Garlic to Jar
- Place the peeled (and/or chopped) garlic cloves into your clean glass jar.
- Don’t fill it all the way—leave about 1/4 of the jar empty for the honey and fermentation process.
Step 3:
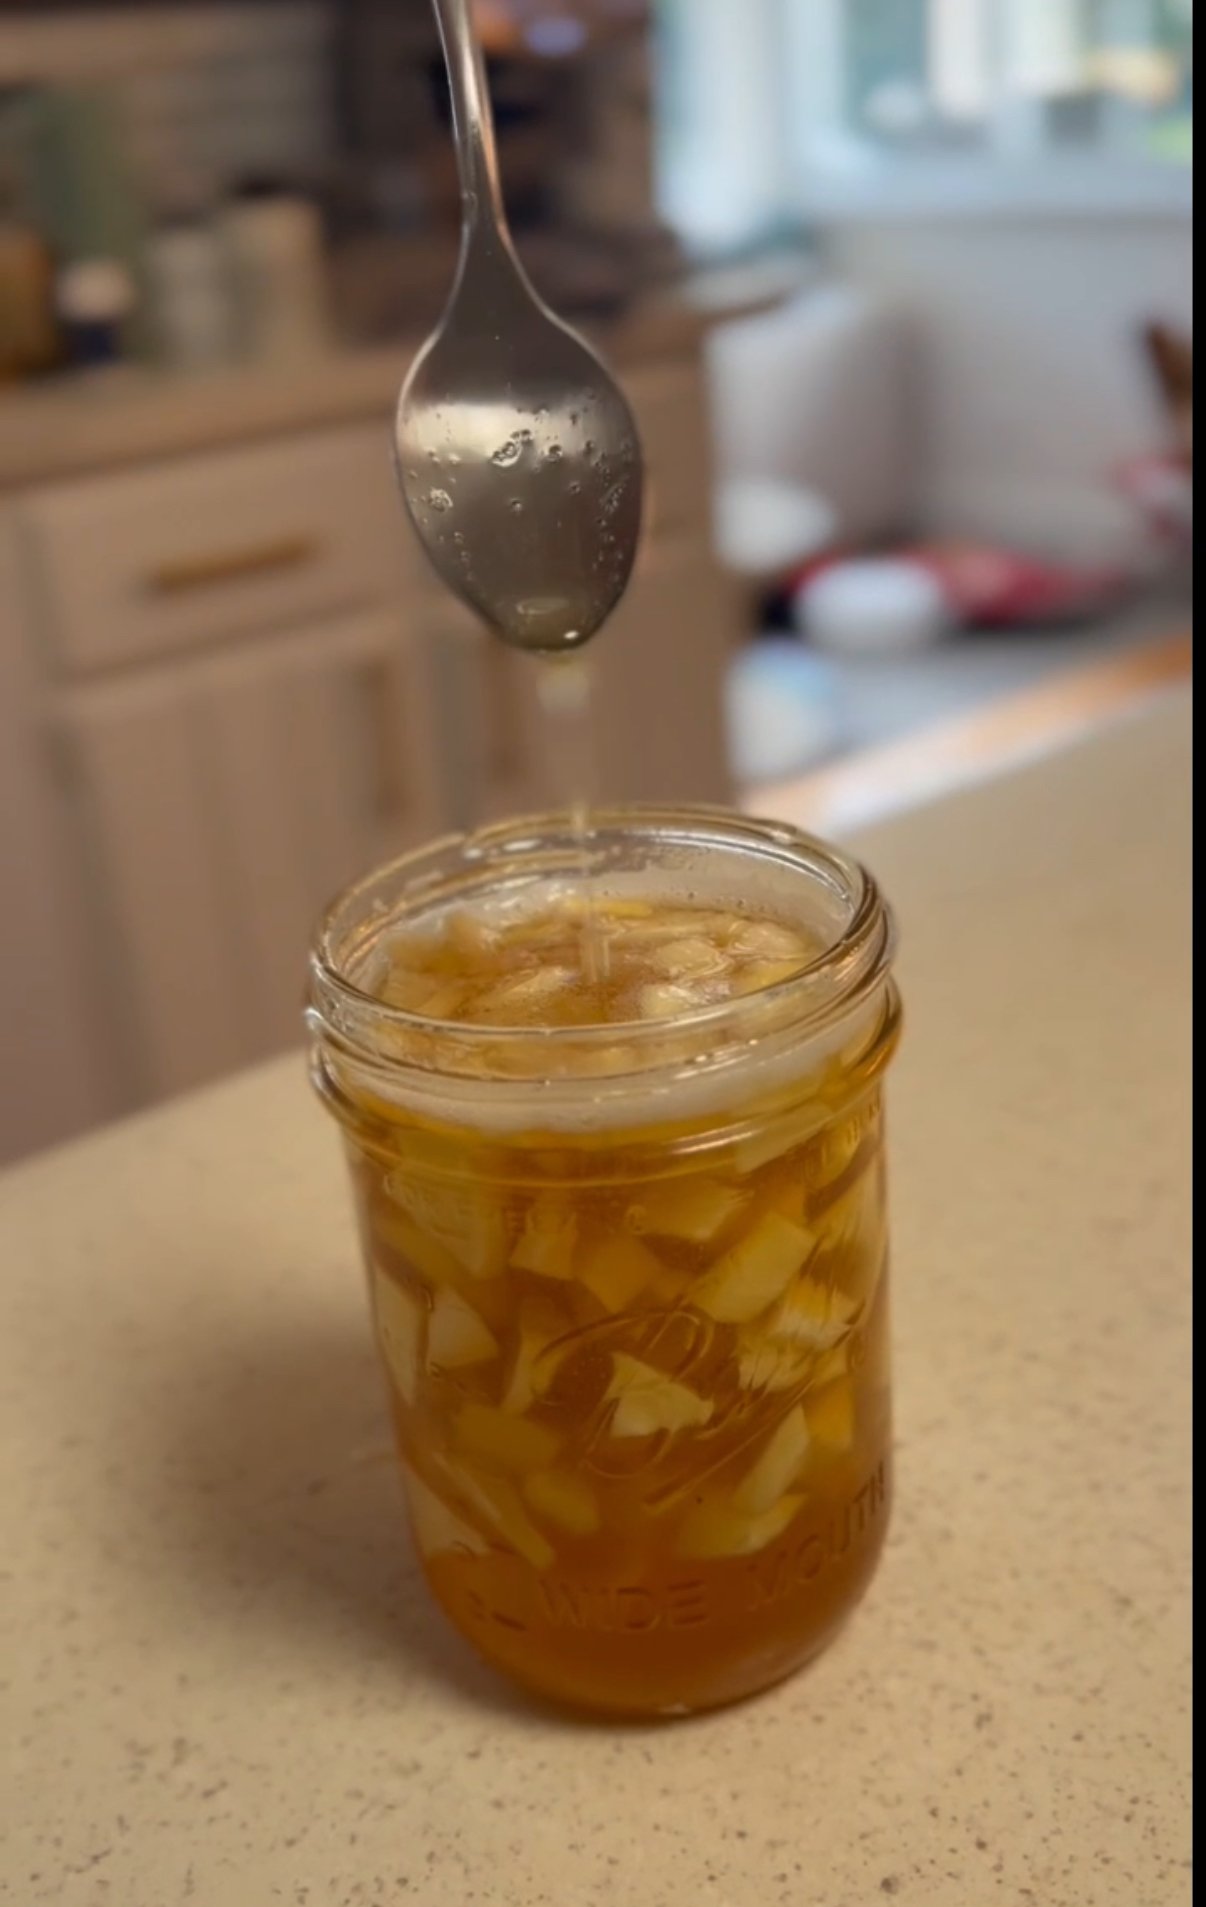
- Add Honey
- Pour raw honey over the garlic until it’s fully covered.
- Make sure all the garlic is submerged under the honey. You can gently press the cloves down with a clean spoon or weight.
- If using a fermenting weight, place it on top of the garlic to keep it submerged.
Step 4:
- Stir and Secure
- Stir the garlic and honey mixture with a clean spoon to ensure it’s evenly coated.
- Place the lid on the jar loosely to allow gases to escape during fermentation.
- Tip: You can also place a cloth or paper towel over the jar and secure it with a rubber band instead of using a lid.
Step 5:
- Let it Ferment
- Leave the jar in a cool, dark place at room temperature.
- Check the jar once a day for the first week to stir the garlic and ensure it’s staying submerged in the honey. (If you have a lid on it, you can tighten and invert to stir, or use a clean spoon to stir)
- Note: As the garlic ferments, you’ll see bubbles forming. This is a good sign—it means the fermentation is working!
Step 6:
- Wait and Taste
- The fermentation process typically takes 4 weeks, but you can start tasting it after about 2 weeks.
- The longer you leave it, the more the flavors will mellow out and the garlic will soften.
- Tip: If the honey crystallizes, place the jar in warm water to gently liquefy it again. But don't get it super hot.
Step 7:
- Enjoy and Store
- After 4 weeks, your fermented honey garlic is ready! You can use it as a natural remedy or in your favorite recipes.
- Storage: It can be stored at room temperature for up to 1 year (or even longer, up to 5 years) if kept in a sealed jar in the fridge.
Notes
How to Use Fermented Honey Garlic:
As a remedy: Take a spoonful at the first sign of a cold or flu, or to boost immunity. You can eat both the garlic and the honey!
In recipes: Use it as a glaze on chicken, fish, or vegetables, or add it to salad dressings and marinades.
For wellness: Take a teaspoon daily to support heart health and digestion.
Notes
DO NOT give honey to children under one year of age due to the risk of botulism. Tips:- Use RAW, local, unpasteurized honey—pasteurized honey won't ferment properly as the beneficial bacteria have been destroyed by heat
- Use organic garlic—non-organic garlic is often treated with sprout inhibitors that can interfere with fermentation
- Make sure everything stays submerged to prevent mold
- If you see mold, discard the entire batch
- The honey will thin out as the garlic releases moisture—this is normal
- If the honey crystallizes, place the jar in warm water to gently reliquefy it
- Use a clean, dry spoon every time you dip into the jar